Support & Learning / Module 3 branch
Positioning and Environment Sensing
Before this lesson: DJI Obstacle Avoidance: Limits and Pre-Flight Evidence | Reboot Hub
What you will understand
- Understand positioning and obstacle-sensing boundaries.
- Separate observable evidence from assumptions before choosing an action.
- Continue through the main lesson path or enter a focused topic branch when needed.
Module 3 / Vision and obstacle-sensing branch
A DJI obstacle-sensing warning does not automatically mean that one camera or infrared module has failed. Sensor coverage and behavior vary by model and flight mode, while lighting, surface texture, cleanliness, configuration, impact history and software state can change what the aircraft can perceive. This guide keeps the customer from testing a compromised aircraft in flight, organizes the evidence and defines when a supported check is enough and when professional diagnosis is the safer next step.
Quick answer
Keep the aircraft grounded until the exact sensing boundary is understood
Identify the exact aircraft, affected sensing direction, flight mode and full warning. Inspect clean external sensor windows in good light, preserve impact or moisture evidence and confirm the current supported configuration. Do not prove obstacle avoidance by flying toward an object. If warnings persist in suitable conditions, multiple sensing directions are affected or damage history exists, stop and request diagnosis.
What should be visible before the customer acts?
What does DJI obstacle sensing actually do?
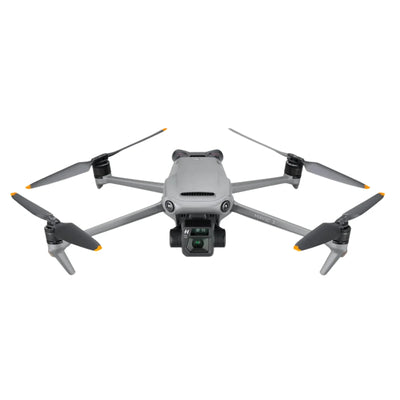
Obstacle sensing uses the aircraft's available vision, infrared or other supported sensing systems to help detect parts of the surrounding environment. It supports the pilot; it does not replace visual line of sight, airspace awareness or manual control. Exact coverage, operating limits and available actions differ between aircraft, mode and configuration. A broad statement such as 'DJI sees in every direction' is therefore unsafe and technically weak.
The right starting point is the exact-model manual and live supported interface. Some modes may change or disable sensing behavior, and an aircraft can be unable to perceive a surface even when no component is broken. The main obstacle-avoidance lesson owns normal capability and operating limits. This branch begins when the customer sees a warning, inconsistent detection or evidence that the represented system is no longer behaving normally.
Which conditions can look like sensor failure?
DJI vision systems depend on usable visual information. Lighting, surface texture, cleanliness, flight mode, glare, reflection, fog, rain and repeated or low-detail patterns can affect perception. Very dark areas, strong direct light, transparent or reflective surfaces and uniform scenes can be difficult for a vision system. These are operating-boundary questions, not proof that a module is damaged.
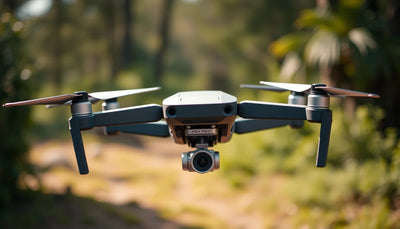
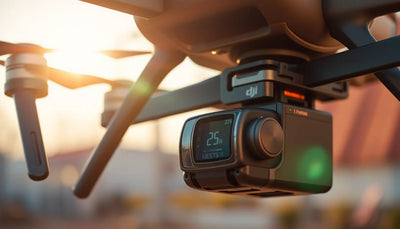
Sensor windows also need a clear external view. Dust, fingerprints, dried water marks, an accessory, a displaced shell edge or transport film can change the result. Record the site and warning before cleaning so the original condition is not lost. Then use only suitable care for the external window and repeat a grounded status check in a stable environment. Do not spray cleaner into an opening or polish a scratched window into apparent clarity.

What should be recorded before any test?
Save the full warning, aircraft model, controller, current app state, flight mode, affected direction, lighting and surface context. Note whether the behavior appeared at startup, only at one site, during an intelligent mode or after impact, transport, moisture or an earlier repair. Photograph each external sensing window and nearby shell geometry before touching the aircraft. Keep the exact accessories fitted at the time of the event.
Record what changed in the aircraft's behavior: a warning alone, disabled obstacle-avoidance or brake behavior, unavailable intelligent mode, unstable positioning, unexpected braking or several simultaneous sensor messages. Do not translate those observations into a failed board. If the event occurred in flight, preserve the flight record through supported methods and move the aircraft to a safe grounded state before troubleshooting.
Which owner checks can be done without creating more risk?
With the aircraft powered off, inspect the external windows and surrounding shell for contamination, cracks, displacement and impact marks. Remove only accessories that are intended to be user-removable and could block the represented sensor. Confirm that the aircraft is the exact model assumed by the instructions. When powered again on a level surface, review the supported status screen in good stable light without starting motors or approaching an obstacle.
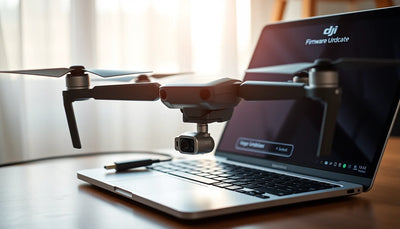
If the manual and current software provide a supported vision-system check or calibration for the exact model, follow that route in the specified environment. Do not open the aircraft, swap sensing modules, install unknown calibration packages or aim bright lamps into a sensor. A failed or unavailable calibration is evidence to preserve, not a reason to repeat the process indefinitely or fly toward a wall to see what happens.
Why is flying toward an obstacle not a valid repair test?
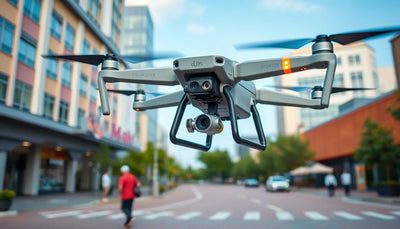
A deliberate approach to a person, wall, vehicle or structure creates collision risk and mixes too many variables: speed, mode, braking distance, texture, lighting, angle and operator reaction. Even a successful stop does not prove every sensing direction or condition, and a failed stop can damage the aircraft or property. The objective is to establish a safe system state, not to stage a dramatic demonstration.
After warnings are cleared and the complete pre-flight gate is satisfied, any function check should use a low-risk legal area, conservative settings and the exact manual's operating boundary. The pilot remains responsible for separation and control. If the aircraft cannot present a normal supported sensor state while grounded, there is no need to fly it for diagnosis.

When should obstacle-sensor evidence move to professional diagnosis?
Move to diagnosis when a warning persists in suitable lighting and surface conditions, several directions are affected, the aircraft has impact or moisture history, a sensor window or shell is damaged, supported calibration fails or the concern appears with IMU, compass, power, camera or startup abnormalities. Keep the aircraft grounded when the supported safety state cannot be confirmed.
A professional process should isolate environmental, configuration, external-window, connection, power and component possibilities without promising a replacement before evidence exists. The customer should receive the exact finding, proposed scope, parts route, calibration and test boundary, remaining unknowns and written approval terms. A public guide should explain that decision, not publish module replacement or board procedures.
What should a repaired sensing system prove before flight?
Return-to-service evidence should identify the original warning, confirmed cause and work performed. It should show the represented sensor status, current supported configuration and any model-specific calibration tied to the scope. The record must not say that obstacle avoidance is infallible or that one test covers every surface, direction, mode and environment. The pilot still needs the exact operating limits.
The aircraft then returns to the main obstacle-sensing lesson and full pre-flight acceptance path. Review camera and sensor cleanliness, controller and app warnings, battery, Home Point, flight mode, return behavior and local operating conditions before a low-risk check. Eligible completed repair work follows the written 30-day repair-warranty terms; qualifying complete pre-owned products have their separate 180-day product-warranty terms.
How does Reboot Hub turn a sensor warning into customer confidence?
We begin with the customer's real concern: whether the aircraft can be flown safely, whether hidden impact or prior repair is involved and what proof is needed before approving cost. We preserve exact-unit photos, warning and configuration evidence, state what is confirmed and what remains unknown, and provide a written diagnosis and scope. We do not sell certainty by claiming that a warning always equals one module.
Use Drone Wiki and the Air-series reference for exact-model context, the main obstacle lesson for capability boundaries, the error-code page for message evidence, the IMU lesson for separate stability inputs and the pre-flight lesson for return to service. If the concern remains, the professional repair path and Reboot Hub Standard connect those learning steps to a transparent customer action.
When a sensing fault persists
Document the direction, environment and warning before service
If cleaning and supported checks do not clear the sensing warning, avoid testing by flying toward an obstacle. Start a repair ticket with the exact aircraft, affected sensing direction, warning text, lighting and surface conditions, impact history and clear photos of the sensor area so physical damage and operating conditions can be separated.
Keep exploring
Further reading
From The Reboot Hub Chronicle




From Drone Guides